HOW TO

Instructions and a directory of terms.
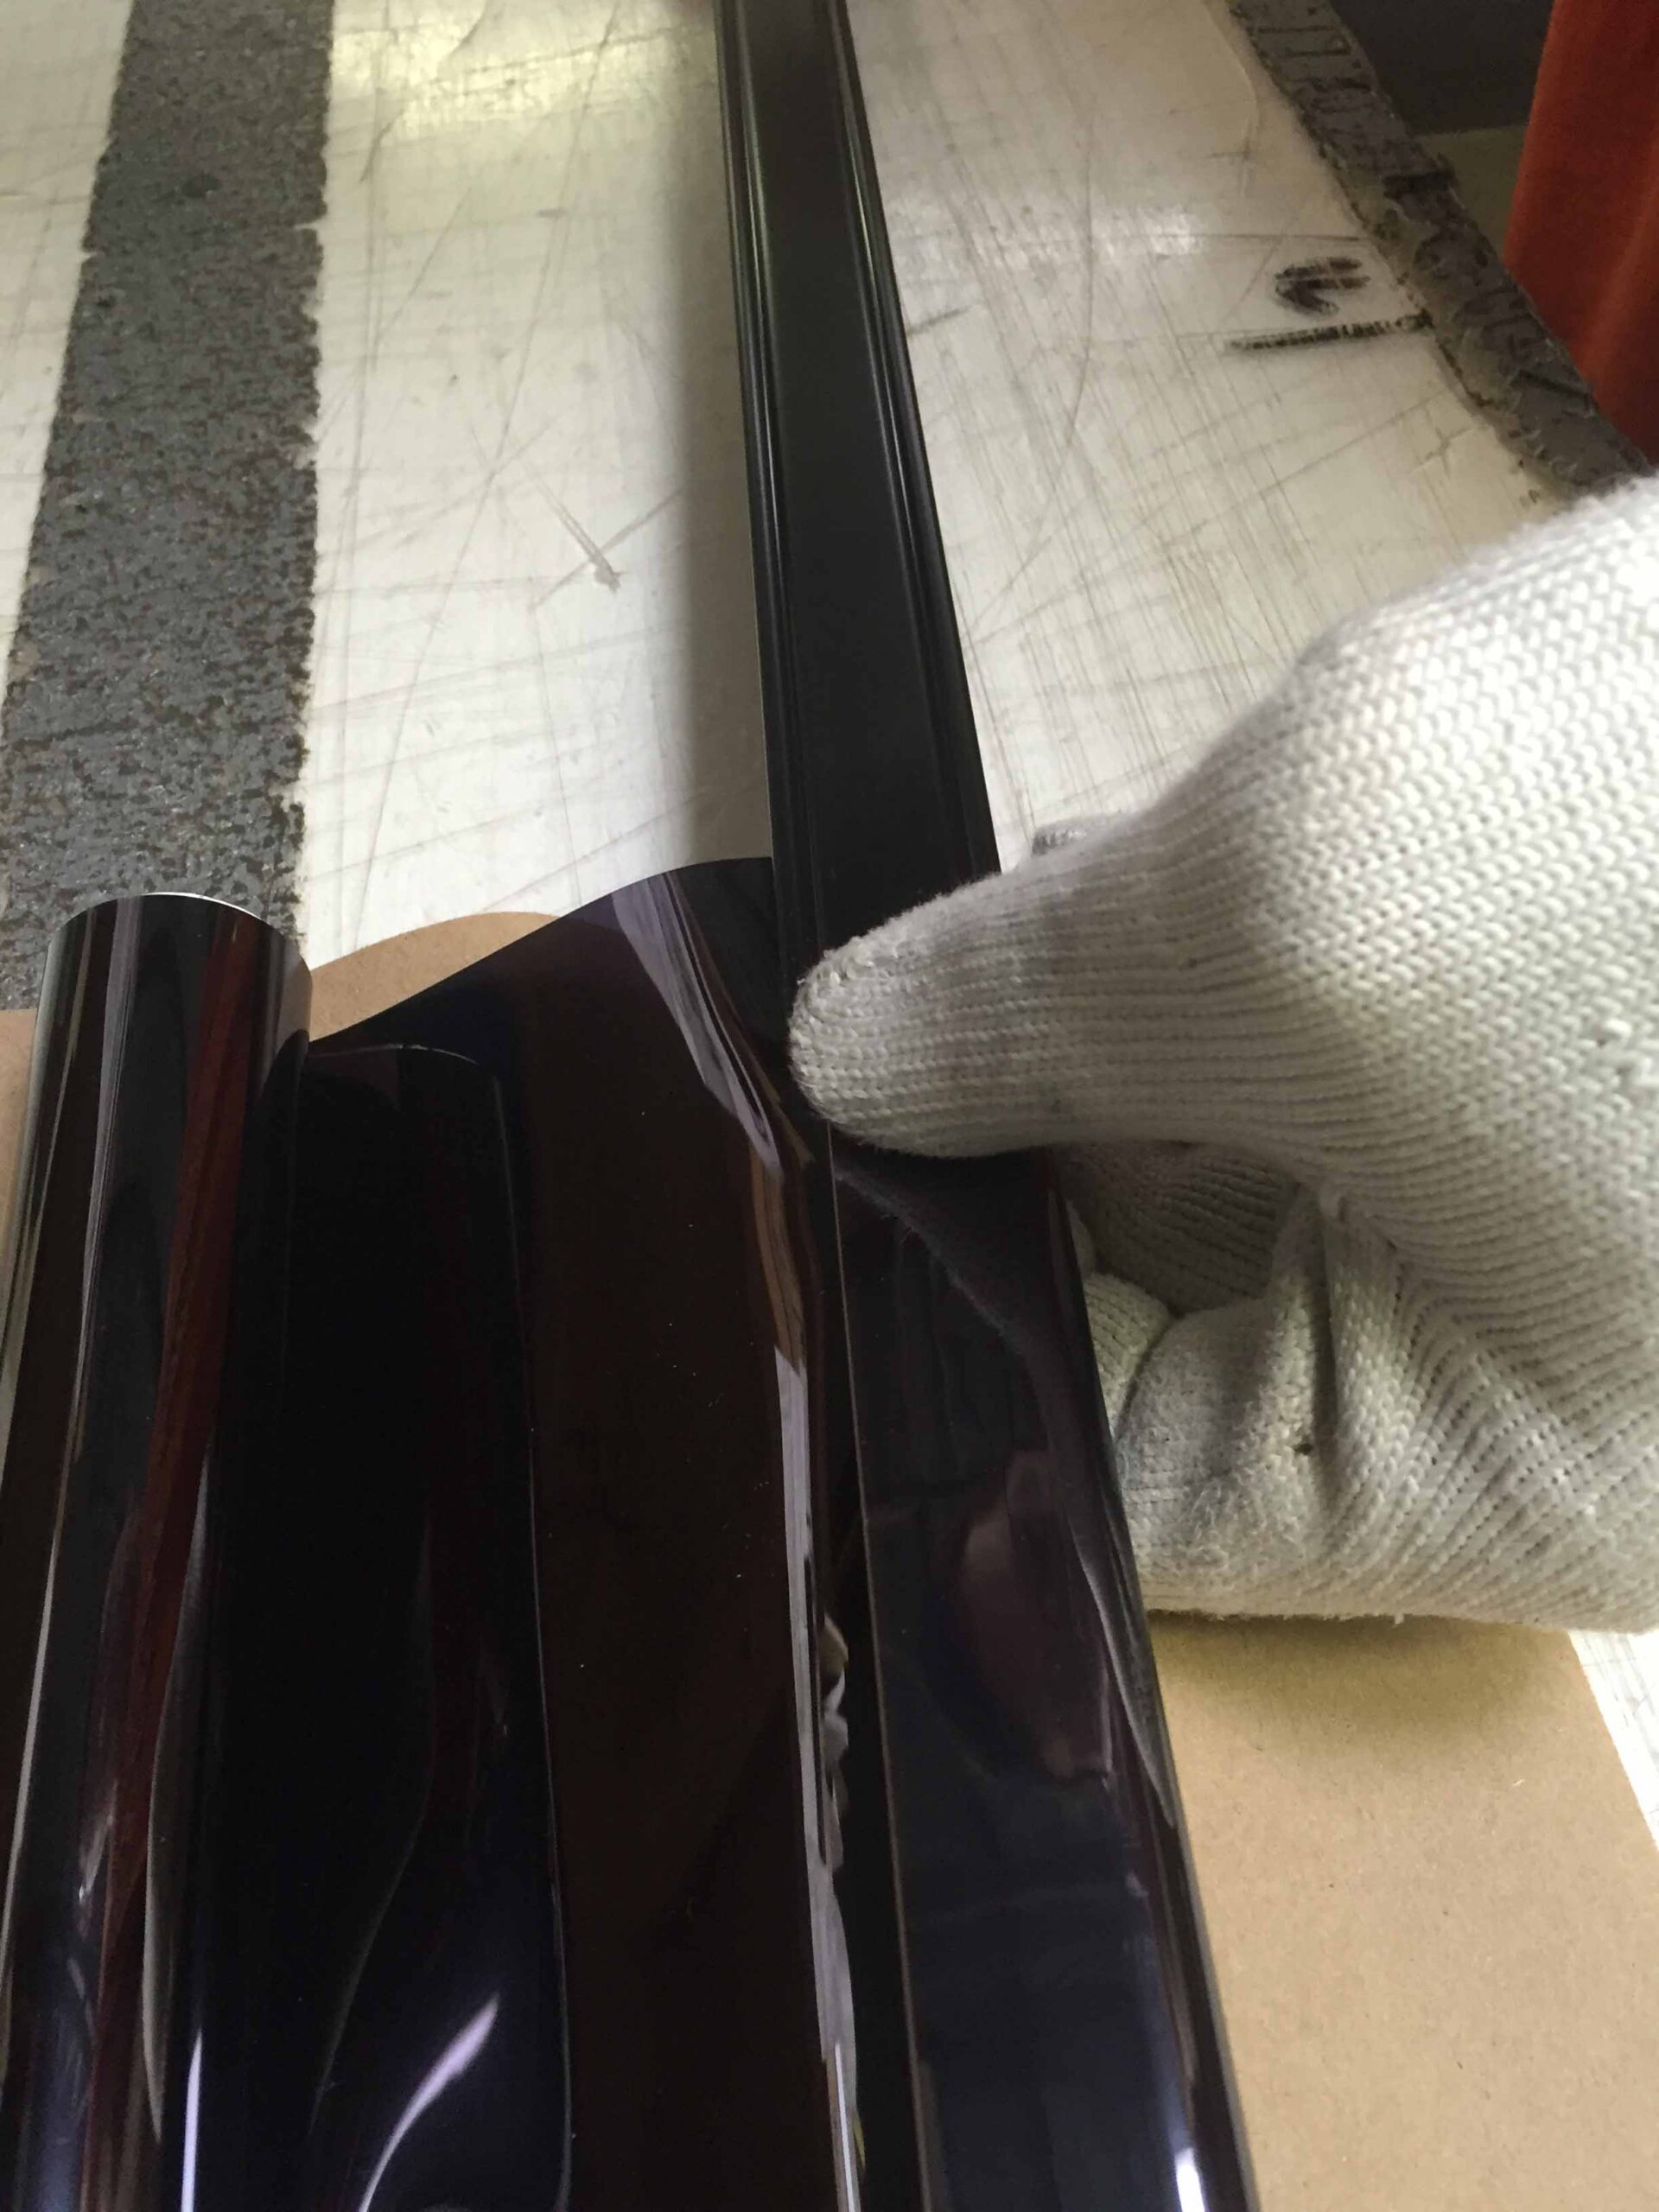
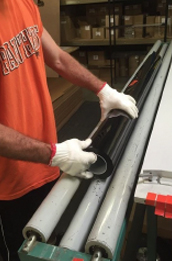
Fascia

  • A snap-on aluminum fascia panel covers the shades roller and mounting hardware and provides a sleek finished look. Brackets mount to the ceiling, side and rear wall.
  • Standard finishes: WHITE, BRONZE & ANODIZED ALUMINUM
Most photographs do not do justice in viewing fascia in a commercial window. When color matched the fascia blends with the framing and appears to be part of the window casement.
How it’s Made
Our roller shades have little to no maintenance or repair compared to other types of shades or blinds. Painted baked enamel steel rollers add greater strength and are used to control warping or sagging. Available in 1 1/8” – 1 3/8” – 1 3/4″ diameter. Shade components have a limited lifetime warranty. Fabrics vary.
Mylar Gallery
RESIDENTIAL
COMMERCIAL
Woven Gallery
Introduction to Shading
Woven technology allow the view out, and lets adequate light in without the glare. They also do an excellent job of controlling the sun’s heat and fading of interiors.
SolarView shades are used extensively in most franchise restaurants like; McDonald’s, Starbucks, Panera, Cracker Barrel etc. They have also replaced most mini and vertical blinds in new and remodeled office spaces.

SolarView interior sun control fabrics provide the perfect balance of light, comfort, and beauty, making them the ideal window covering solution for residential and commercial spaces alike. A sleek and functional alternative to Ordinary window coverings SheerWeave effortlessly and elegantly manages the sun’s harsh heat and blinding glare.
…conserving energy and helping to create a more comfortable environment. SolarView also helps reduce the fading of interior furnishings and flooring by protecting these surfaces from the sun’s harmful effects. And unlike many window treatments, SolarView allows excellent outward visibility – even when shades are lowered – to maintain optimal views.
… and transmit diffused natural light toward the interior. These colors are excellent for reducing overall solar heat gain, lowering energy costs associated with air conditioning, and reducing the need for artificial lighting for additional energy savings. Due to high reflectivity, light colors will limit outward views.
Benefits include improved clarity of electronic devices, diminished eye strain and excellent outward views. While the overall impact on solar heat gain is not as significant with dark colors, this heat will be more evenly distributed into the room, improving comfort and eliminating hot spots created by direct sun light.
… and, combined with color, determines the fabric’s overall performance. The more open a fabric the more heat and light will transmit to interior spaces and the more outward views are maintained. With openness factors ranging from zero to 25 percent, selecting the right combination of color and openness will ensure your goals for energy savings, light management and outward visibility are achieved.
How to Measure
SolarView will provide custom roll shades made to the measurements that the customer records.
Width measurements need to be taken at the point where the roll shade installation brackets will be mounted. Measurements will not be accepted by the desired material width or height. Use a steel measuring tape. Enter measurements in inches and in fractions, round down to the nearest 1/8”. Measurements by the foot or metrics are not accepted.
(IM) measurements are for mounting the shade brackets within the window casement, the factory will make deductions to accommodate the brackets, shade, and rotating control mechanism. Inside mount (IM) shades will ALWAYS have a gap of up to 5/8” on both sides of the shade. < plus or minus 1/8” > EXAMPLE: a shade ordered at 70” IM width will fit within 70”. NOTE the material width including bottom bar will be approximately 68 ¾”. The “gap” is the spacing given to accommodate the brackets and mechanism that hold and control the shade. If this gap is not acceptable, consider adding inches to the shade and mount it on the wall, trim or mullion for an Outside Bracket Mount (OB) We do not accept material or bottom bar width when ordering. If there are any obstructions (trim, molding, handles) this must be taken into consideration to have a customized fit. Photographs and or additional measurements may be required. Material width or bottom bar width is never considered as a viable measurement in and of itself.
(OB) measurements are for mounting the shade brackets on the outer casing, on the ceiling, trim, molding or mullion. This measurement will be manufactured with NO factory deductions. When ordering OB measurements, you can customize the opening for no-light gap coverage by simply increasing the mounting width size. The final rule is; Measure to and from the point of the bracket installation. Material width or bottom bar width is never considered as a viable measurement in and of itself.
The minimum mounting depth for IM is 1” (brackets and shade will extend past the opening) For fully recessed shades the depth must be 3”. The tubes and mechanism become larger for shades that measure beyond 76” wide. The large shade will need a 4” minimum depth to be fully recessed The factory always adds length to each shade as a “safety wrap”. This insures that the material will hang securely to the tube. The material safety wrap remains around the tube when the shade reaches the ordered length.
The default length of the chain is 60% of the shade’s ordered height. A roll shade positioned over a door or a tall window where the windowsill is greater than 48” from the floor will need extended chain length. The extended chain will lower the drop length to allow reach and access to the roll shade. An extra chain must be requested at time of order. Cord Free Control OPTION: Spring Pull Tension is available at no extra cost for Mylar Roll Shades.
How to Install
READ STEPS 1-10 BEFORE STARTING
IMPORTANT! Do not remove the entire paper wrap from the shade until fully mounted in the brackets.
The plastic bracket insert must be placed with the open end upward (or shade will fall out of the bracket)
Center the shade in the window, then mark and install the first bracket.
If unsure install the first bracket. Put shade in place and hold the second bracket into shade, mark, and install.
THIS IS NOT COVERED BY WARRANTY Always use a carpenter’s level to make sure the shade is level. Do not assume window framing is level.
THIS IS NOT COVERED BY WARRANTY Never bend the brackets as an adjustment. Be sure the shade is securely installed into the brackets and will not fall out. Once installed, all shades should be able to move side-to-side 1/16” – 1/8”. Remove (do not cut) the paper to check for proper operation and tracking.
Brown jersey gloves work well when hanging Mylar shades. 3. To check for proper tracking or possible telescoping. Start by lowering the shade approximately 1/3 of the way down and then back up. Repeat by pulling 2/3’s of the way down and then back up.

Troubleshooting

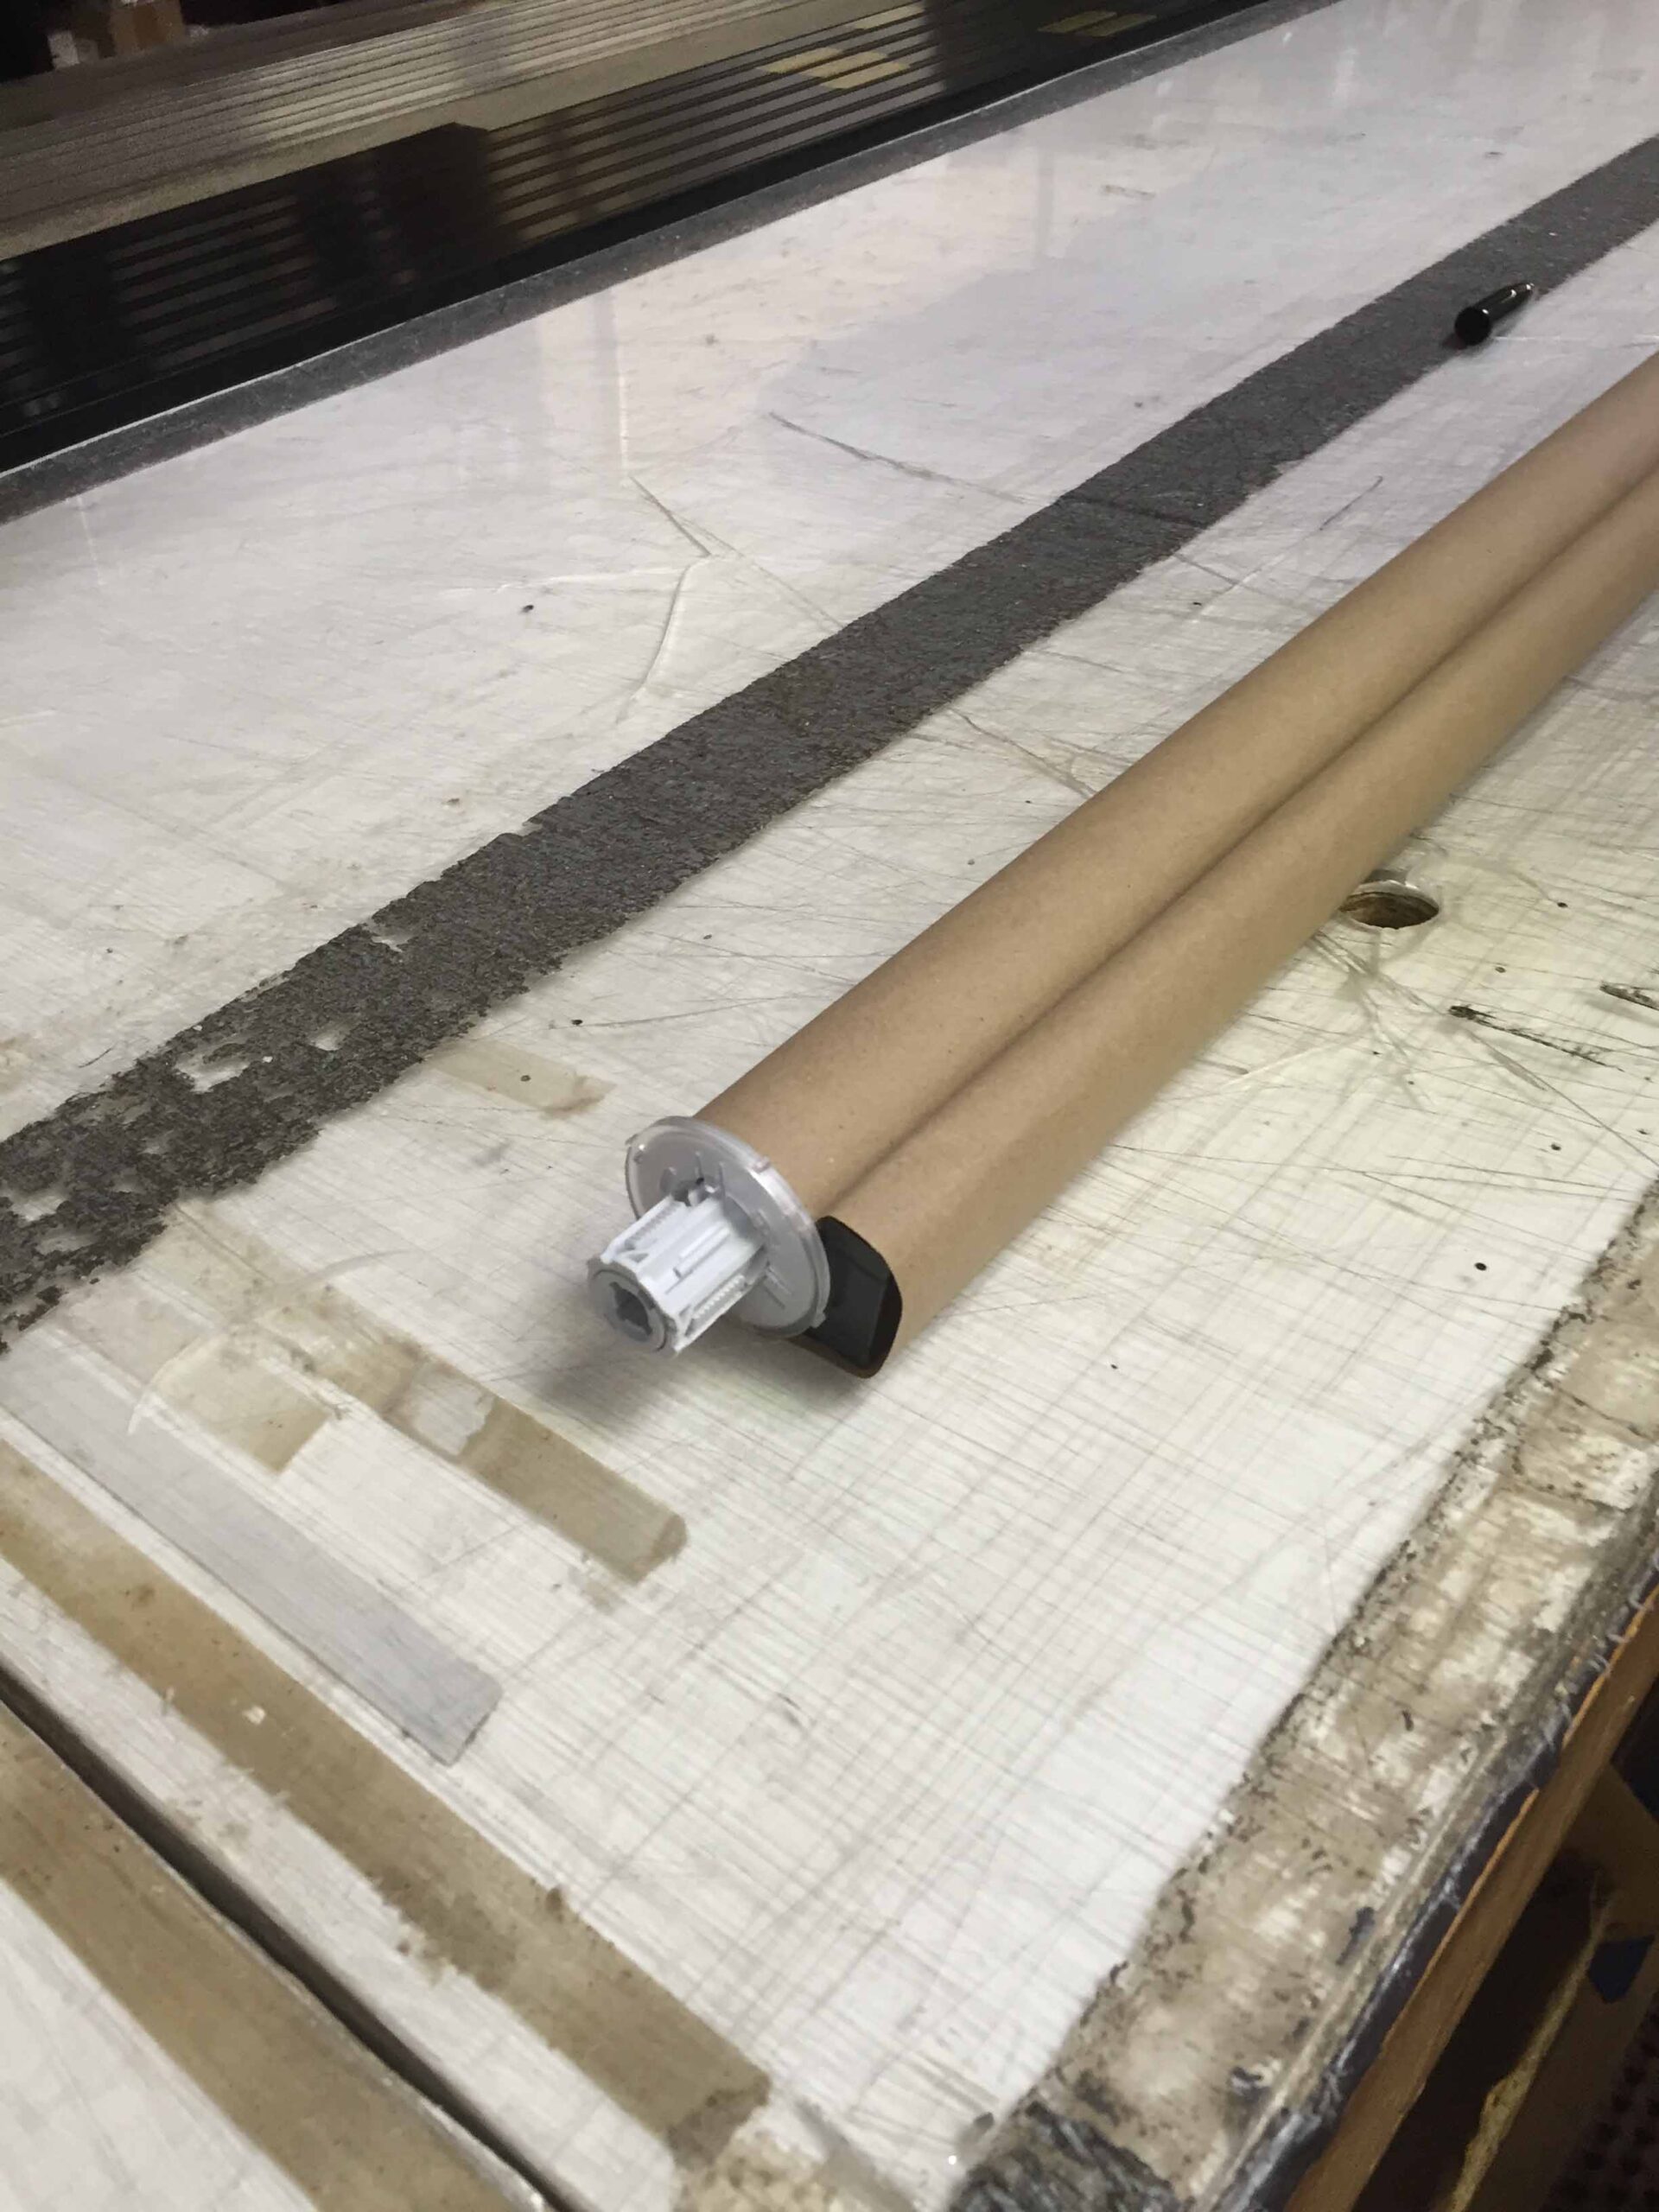
1. The round steel pin in the end plug is designed to be pulled out up to 1/8” using pliers.
2. FABER end caps are also designed for adjustment on the job. A notch is provided on both ends to insert a flat screwdriver and pry out 1/8”. If ends are pried out, secure in place by indenting the metal tube into the plastic plug by using a nail or center punch.
3. For in jamb installation, the brackets can be moved closer together with the use of a wood shim, penny, or washer behind the brackets.
4. Relocate the universal brackets and mounting locations from in jamb, to outside, wall or ceiling mount.

The steel tube should be exposed about 1/8” – Fabric should be narrower than the tube. The tube may be filed or trimmed down to the proper width.

1. Reposition the brackets to a ceiling or outside mount. DO NOT FILE THE PINS.

2. To return a shade to the manufacturer for cut down, A RETURN AUTHORIZATION NUMBER must be assigned before the shade will be accepted back. If the cut down is not the fault of the manufacturer, a service charge will be added

1.Always use a carpenter’s bubble level to make sure the shade is level. It does not necessarily have to be eye level or parallel with the window frame.

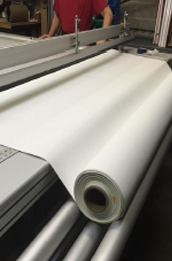
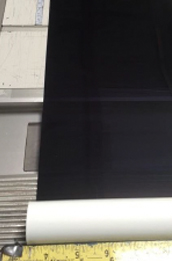
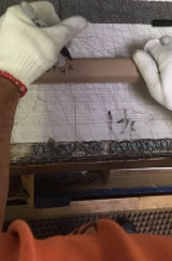
2. If the tube is level, pull down a shade or unroll material until the metal tube is exposed. Stack or shim several pieces of tape (not a thin Scotch tape) 3” – 4” along the tube on the end opposite the direction that the material is tracking towards.

3. Repeat or thicken shims if necessary.

4. When using Sheer Weave material, there may be existing shims. You may want to remove them and start over.

How to Measure
SolarView will provide custom roll shades made to the measurements that the customer records.
Width measurements need to be taken at the point where the roll shade installation brackets will be mounted. Measurements will not be accepted by the desired material width or height. Use a steel measuring tape. Enter measurements in inches and in fractions, round down to the nearest 1/8”. Measurements by the foot or metrics are not accepted.
(IM) measurements are for mounting the shade brackets within the window casement, the factory will make deductions to accommodate the brackets, shade, and rotating control mechanism. Inside mount (IM) shades will ALWAYS have a gap of up to 5/8” on both sides of the shade. < plus or minus 1/8” > EXAMPLE: a shade ordered at 70” IM width will fit within 70”. NOTE the material width including bottom bar will be approximately 68 ¾”. The “gap” is the spacing given to accommodate the brackets and mechanism that hold and control the shade. If this gap is not acceptable, consider adding inches to the shade and mount it on the wall, trim or mullion for an Outside Bracket Mount (OB) We do not accept material or bottom bar width when ordering. If there are any obstructions (trim, molding, handles) this must be taken into consideration to have a customized fit. Photographs and or additional measurements may be required. Material width or bottom bar width is never considered as a viable measurement in and of itself.
(OB) measurements are for mounting the shade brackets on the outer casing, on the ceiling, trim, molding or mullion. This measurement will be manufactured with NO factory deductions. When ordering OB measurements, you can customize the opening for no-light gap coverage by simply increasing the mounting width size. The final rule is; Measure to and from the point of the bracket installation. Material width or bottom bar width is never considered as a viable measurement in and of itself.
The minimum mounting depth for IM is 1” (brackets and shade will extend past the opening) For fully recessed shades the depth must be 3”. The tubes and mechanism become larger for shades that measure beyond 76” wide. The large shade will need a 4” minimum depth to be fully recessed The factory always adds length to each shade as a “safety wrap”. This insures that the material will hang securely to the tube. The material safety wrap remains around the tube when the shade reaches the ordered length.
The default length of the chain is 60% of the shade’s ordered height. A roll shade positioned over a door or a tall window where the windowsill is greater than 48” from the floor will need extended chain length. The extended chain will lower the drop length to allow reach and access to the roll shade. An extra chain must be requested at time of order. Cord Free Control OPTION: Spring Pull Tension is available at no extra cost for Mylar Roll Shades.